Monday, March 21, 2011

{Review} Mary Kay Oil-Free Eye Makeup Remover

So a while ago I ran out of my eye makeup remover. I was using the Moisturizing Liquid Eye Makeup Remover from Almay. And while I really liked it, it lasted so long that when I finally finished it I was itching to try something new, so I got the Oil-Free Eye Makeup Remover from Mary Kay.

Now, Mary Kay isn't a brand that I've tried very much, only a handful of products over the past few years because my aunt was in love with their stuff. I think one of the main reasons I never really got into it is availability. I really dislike that I can't just got to the store and see/feel/swatch the products myself. Relying on catalog pictures really puts a damper on the shopping experience. That and I think the picture people get when they think Mary Kay is of the older woman. I don't know many people my age that use Mary Kay, but I know my mom and my aunts love the stuff. However, a friend of mine sells Mary Kay now and I finally gave into the urge and tried out a few things from them, the biggie being the eye makeup remover.

Now the unique thing about this bi phased eye makeup removers is that it doesn't contain oil. Usually, one layer is a water (with preservatives, scents, etc) and the other is an oil. With this eye makeup remover one layer is still the water but the other contains silicone. Now, this does make a difference. While the oil actually melts away and dissolves oil/wax based mascaras and eyeliners, etc, silicone products, I think, make it easier to rub them off. The way I realized this was when I noticed that if I just soaked a pad with this remover and placed it over my eye for a minute and then tried to gently slide it off, my eyeliner and mascara were pretty much still there. If I put it on a q-tip and tubbed, voila it was gone! With my Almay oil based remover, I didn't have to rub if I didn't want to.

IMPORTANT: This is a silicone based product. If you have allergies/reactions to silicone based foundations, PRIMERS, etc, this will not be the product for you!

What it actually looks like:
It looks pink in the container, but I think that's the plastic it comes in. The actual remover is clear. I like this new chic packaging much better than the older packaging which looked a bit dated.

You can clearly see the two layers in this pic.

The way this bi phased product works is that you have to shake it up before using it every time. If you don't shake it you'll only get one of the layers and it doesn't work as well.

Shake just a little=pretty!
If you shake it just a little you get this pretty, shimmery bubbly effect!

Pretty, right?

Before shaking:
It's clear.

After shaking:
It's no longer transparent, more milky looking.

The dispenser:
I actually don't like this mode of dispensing. With my Almay one I could just dip a q-tip in, one per eye, and be done. With this, you actually have to pour the product out. Whenever I tried aiming at the q-tip I would end up wasting a lot so now I just pour some on a makeup wipe and rub all over my eyes. I have found that I still use a lot more that I did with my Almay remover.

A comparison:
Almay is on the left, Mary Kay is on the right. Now, you may say that it protects against spillage, but I'm not much of a klutz. I had the Almay remover for close to a year, but never spilled it. I tried removing the stopper with the hole in it (idk what you call it lol) but then when I would close the remover it would leak out of the container, so I stuck it back in.

As a makeup remover, this product works. It will remove the makeup. It removes waterproof mascara, eyeliner and the like. The issue I have with it is how it removes it. I don't like having to rub my eyes a lot. It's different with a q-tip because I'm mostly rubbing the lash line, not the actual skin. I wear contacts and since I've started wearing them my eyes (and the skin around them) have been very very sensitive to things like sunlight, sudden changes in light, glitter, powder, and of course rubbing. I've also read in other peoples reviews that a lot of people have had reactions to this remover. I don't know if it's just the silicone in it or what, but if you have sensitive skin or eyes I would do a patch test before using it because I've heard a lot of people having issues with itching, burning, hives like bumps, etc.

In addition, I hate how much product I end up wasting with each use. If I was able to use this on a q-tip I would not be using any where near as much. Because I have to pour it on a towelette or a cotton pad or ball, I end up using more product for the same result. Since it's not exactly cheap, this becomes a problem real fast for me.

If you don't mind rubbing, this makeup remover will work for you. However, even then there are several oil-free makeup removers at the drugstore which will work just as well and for a fraction of the cost.

Pros:
-Removes waterproof makeup.
-Isn't greasy.
-Doesn't leave a residue.
-Pretty! The packaging and the bubbles lol!
-No strong smell.

Cons:
-Silicone based.
-Requires rubbing to be effective.
-Have to shake every single time before using.
-Inefficient dispenser for those who like to use q-tips to remove makeup.
-Expensive (not as much as Lancome's Bi-Facil, but Lancome's works better too).


Info:

Price: $15

Ingredients: WATER, CYCLOTETRASILOXANE, ISOHEXADECANE, HEXYLENE GLYCOL, SODIUM CHLORIDE, BENZYL ALCOHOL, IMIDAZOLIDINYL UREA, POTASSIUM PHOSPHATE, DIPOTASSIUM PHOSPHATE, DISODIUM EDTA, POLOXAMER 184, BENZALKONIUM CHLORIDE.

Disclosure: The product featured in this post was purchased by me for the purpose of my personal use. If you have any further questions about disclosure, don't hesitate to ask in comments.

{Review} Revlon PhotoReady Translucent Finisher

So a few weeks ago I dropped my Stila pressed powder and it shattered :( So I went out and decided to try something a bit cheaper. I do still have my NYC Smooth Skin Loose Powder, but I needed something a bit more convenient and portable than a loose powder. I had a dollar off coupon for a Revlon item so I picked up their PhotoReady Translucent Finisher and while it's a good setting powder, I still don't get why there is GLITTER in it!?!?!?

All it is is a translucent pressed powder that is supposed to matte the skin and set makeup.

Notice that it doesn't say anything about it being illuminating or anything like that.

Now, from a distance it doesn't look like there's any thing in this powder other than well, powder.

If you look closer (and feel free to click the image to zoom in) you can clearly see glitter!!! To me that totally defies the purpose of the powder. I have oily skin. The last thing I want to put all over my face is something glittery.

A swatch:

I swatched it a bit thicker and if you zoom in you can clearly see glitter. To be fair, the glitter isn't that noticeable when you first apply. Unless you're out in the sun you probably won't even notice it. However, I do notice it when I see myself getting oily. By then the actual powder is gone and what sticks to my oily skin is the glitter from the powder. Then it is definitely noticeable. Revlon says the purpose of the glitter is to diffuse light in photography, but what I've always been told when getting pictures done is to avoid glitter/shimmer anything on the face because they tend to reflect light and in flash photography make the face look unnaturally light.

Now, just because it has glitter in it doesn't mean that it is a total fail. If it wasn't for the glitter then it would be a very very good setting powder. It goes on almost completely translucent, more transparent than other powders I've tried. Sometimes powders can sit on the skin, or attach to those teeny hairs on the face and look very obvious. I like this one because it is so finely milled that it is almost completely invisible. And it does keep me completely matte for at least 3 hrs, which isn't bad. It's not the best, but certainly not as bad as a powder I used fromAlmay a while back which actually made me look oily within an hour and a half. The powder itself is very very soft and does give the skin a smooth appearance.

If you have normal or dry skin this powder may work for you. If you have oily skin, I say be careful. You may not notice the glitter, but I have oily skin and I definitely did, in the pan and on the skin. For $12.99 retail, I expect a powder to be perfect. That's actually more than I pay for my Estee Luder Powder re-fills and they work better for me.

Pros:
-Very finely milled.
-Gives the face a smooth appearance.
-Mattifys for a decent amount of time.
-Is almost completely transparent.
-Doesn't emphasize hairs.

Cons:
-Has GLITTER in it.
-Is expensive for a drugstore powder ($12.99).
-Brush that comes with it is useless.
-Packaging is unnecessarily large/bulky (for a pressed powder).

Info:

Price: $12.99 (Pushing it for a drugstore product, I think.)

Ingredients:
Mica, Bismuth Oxychloride (CI 77163), Zinc Stearate, Silica, Dimethicone, Nylon 12, Polymethyl Methacrylate, Polyethylene, Octyldodecyl Glycol Grapeseedate, Ethylhexyl Methoxycinnamate, Cyclopentasiloxane, Trimethylsiloxysilicate, Triethoxycaprylylsilane, Calcium Aluminum Borosilicate, Saccharomyces Calcium Ferment, Saccharomyces Zinc Ferment, Saccharomyces Potassium Ferment, Saccharomyces Iron Ferment, Saccharomyces Copper Ferment, Saccharomyces Magnesium Ferment, Pentaerythrityl Tetraethylhexanoate, Hydrogenated Lecithin, Lauryl Lysine, Dimethiconol, Methoxypropylgluconamide, Magnesium Ascorbyl Phosphate, Tocopheryl Acetate (Vitamin E), Hydrolyzed Rice Protein, Lecithin, Camellia Sinensis (Green Tea) Leaf Extract, Aloe Vera (Aloe Barbadensis) Extract, Chamomilla Recutita (Matricaria) Flower Extract (Matricaria), Punica Granatum Extract, Macrocystis Pyrifera Extract, Nereocystis Leutkeana Extract, Methyl Methacrylate Crosspolymer, Alumina, Phenoxyethanol, Sorbic Acid (A Preservative), Iron Oxides (CI 77491, 77492, 77499), Titanium Dioxide (CI 77891)
Disclosure: The product featured in this post was purchased by me for the purpose of my personal use. If you have any further questions about disclosure, don't hesitate to ask in comments.

Friday, March 18, 2011

Update! I'm not dead, lol!

First off, I'm so sorry for the week long absence. If you guys knew what I went through this past week with school, my friends, etc. I don't really feel comfortable blabbing about it in a post, but this past week was INSANE!!! ANd mostly not in a good way, lol! Anyhow, I'm off for spring break all week and I will definitely be posting a lot more! I hope all of you had an awesome St. Patricks day! Hopefully you guys got the chance to go out and have some fun! So yeah, just wanted to let you guys know I'm not dead or anything lol! New posts will be up starting tomorrow! And again, really really sorry for the long absence!

Wednesday, March 9, 2011

{Haul} Sephora, Target, Xmas Tree Shop!

Top to bottom: Nars E/S in Mekong, Palladio Eye Ink in Navy, Benefit High Beam, and Lavera Trend Sensitive Lip Gloss in No.3 Berry.

Another haul! I stopped by the mall and just couldn't resist these four items which I've been eyeing for some time.

1. Sephora:
Nars Eyeshadow in Mekong and Benefit High Beam To-Go.

Nars Eyeshadow in Mekong.

I've been wanting this eyeshadow ever since they first released it. It's a blackened brown with golden shimmer in it, and it is absolutely stunning. It's very versatile because depending on how you apply it you can get completely different effects. As you can see, I couldn't resist trying it out a few times, haha!

I've been wanting Benefit's High Beam for a while now as well, but I just couldn't justify buying the full size because as someone with oily skin, the probability that I would go through even half of the bottle is very small. I was really happy when they came out with the to-go size!!! Only $10 too!

Swatches:
Nars Mekong and Benefit High Beam.

2. Target
Lavera Lip Gloss in No. 3, Berry.

I don't know if this brand is stocked in every target, but Lavera is a bit on the higher end and they offer natural and organic products. I'm very wary when I see a brand sold in, for all intents and purposes, a drugstore, claiming to be organic or natural, but I was sucked in with the gorgeous color!

Lavera Lip Gloss in No. 3 Berry.

A swatch:
It doesn't look like a berry color, but on the lips it just gives enough color to look full and sophisticated. I love how this color looks with just some navy liquid liner. Stunning!

3. Christmas Tree Shop
Palladio Eye Ink in Navy.

I don't know if you guys shop at Christmas Tree Shop, but the one at my mall has a full cosmetics section, just like the ones you see at the drugstore. They stock the bigger brands like L'Oreal, Maybelline, and Revlon, but also smaller brands like Prestige and Palladio. They also have brushes from Ecotools and a bunch of other brands I would only get at Sally Beauty Supply. What sucked me in is that the liners in the Palladio display had testers and I was pleasantly surprised by the small size of the Eye Ink liners felt tip applicator. I'll do a full review later but I definitely suggest you check these out!

A swatch:

Don't be mislead by the swatch. I didn't fully read the label so I hadn't shaken it before swatching. I'll do a full review with better swatches! I really like this liner and am definitely gonna go get more colors. There area a lot of shades!

Well, that's it for the haul! Nothing major, but I thought I'd share anyway!

{Favorites} February 2011

So here are February Favorites! I know, a little late but everything's been so hectic lately that this is the fastest I could get them out. Not as many as last month, but I've been using a lot of the same so I figured I'd skip the repeats.

1. Skincare
L to R: Nature's Gate C For Yourself Serum, Philosophy Grace Perfumed Body Lotion, The Body Shop Peppermint Intensive Foot Rescue Lotion.

I've really been loving all three. I'm almost done with the Philosophy Grace lotion (you can't tell, but trust me on that) and I'm thinking about getting the full size. I put this on right after I get out of the shower, all over, and it makes me smell like I've spent the day at the beach! So pretty! I always get compliments when I wear this.

The C For Yourself serum is a bit heavier than I like a serum to be so I haven't been wearing it during the day but rather at night underneath my regular moisturizer. It's a re-texturizing serum and in the morning my skin feels really smooth like I've exfoliated.

The texture of The Body Shops Peppermint Intensive Foot Rescue cream is unlike anything I've ever tried before. It's more solid than a regular lotion, but almost has the consistency of a balm, but softer. It smells amazing though and makes my feet feel so smooth and soft. I put this on before bed, a thick layer, and wear socks. I wake up in the morn with the most soft and supple feet.

L to R: Nature's Gate C For Yourself Serum, Philosophy Grace, and The Body Shop Peppermint Intensive Foot Rescue.

2. Makeup
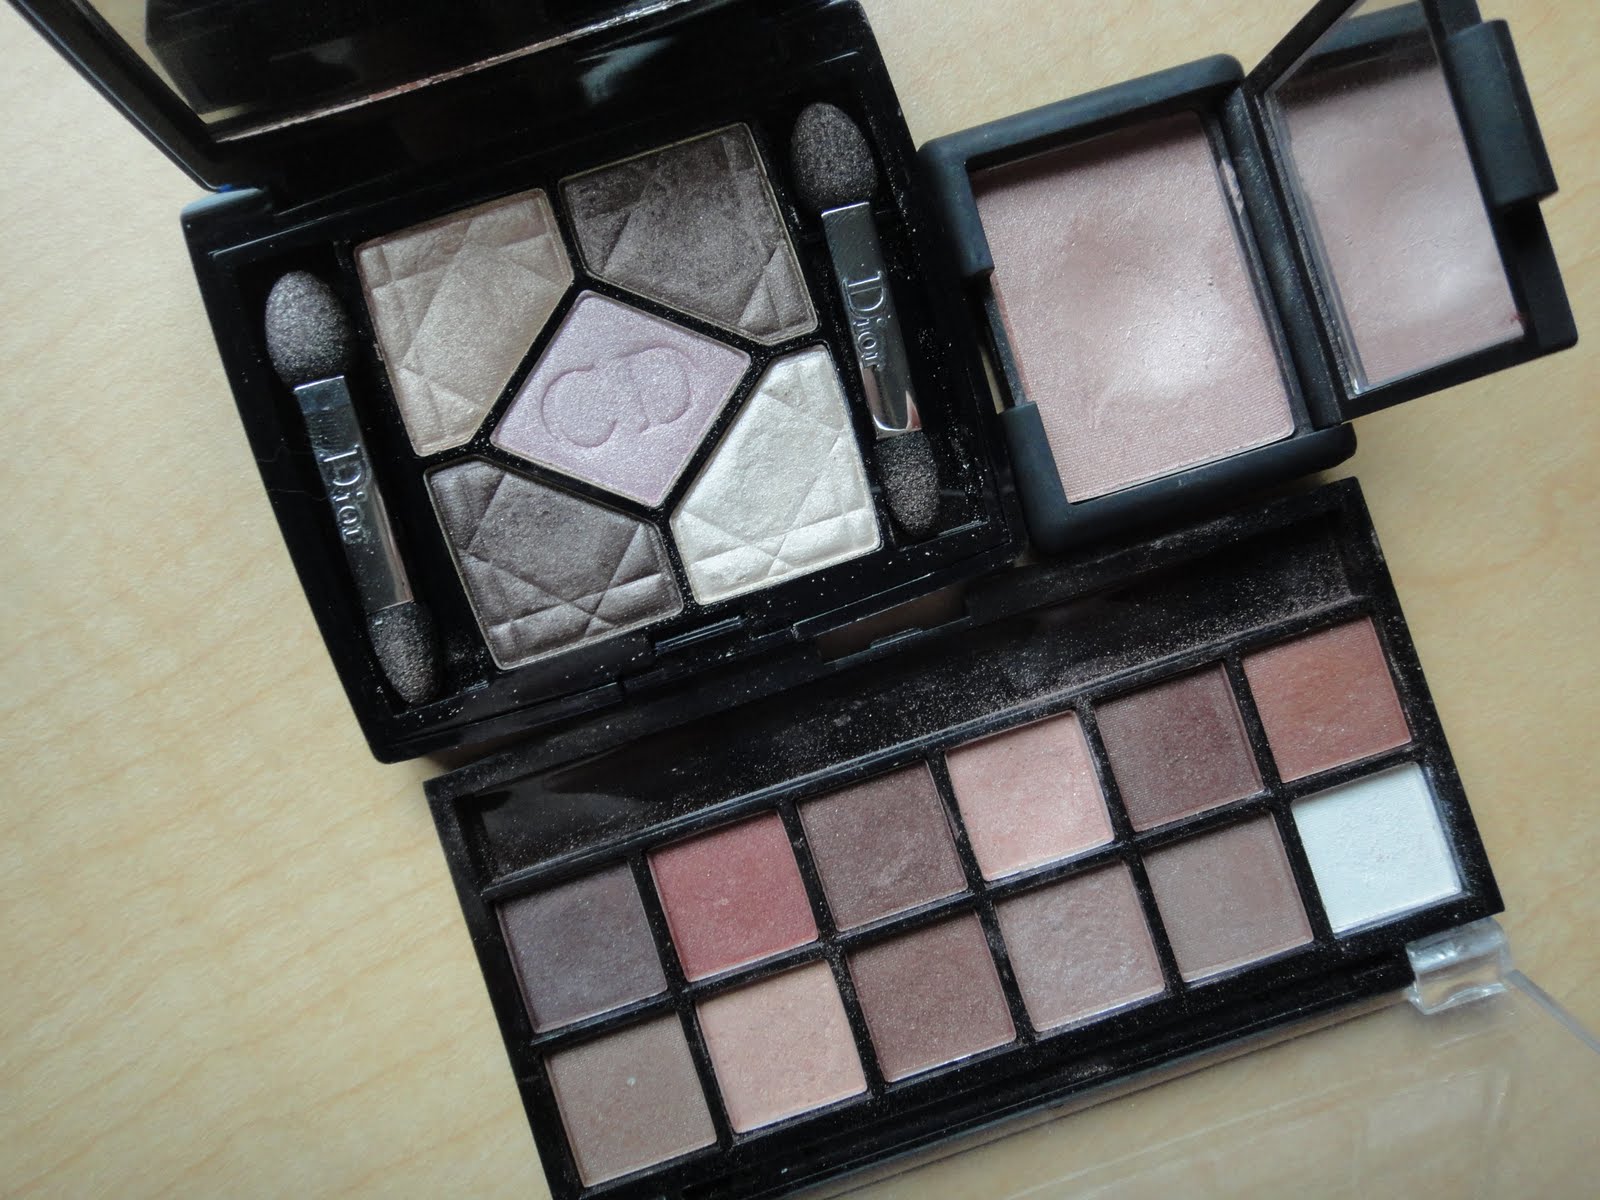
Clockwise: Dior 5 Color Eyeshadow in Earth Reflection, Nars Single Eyeshadow in Nepal, and L.A. Colors 12 Color E/S Palette in Traditional.

I've really been into neutrals this month. I never really go nuts with eyeshadow but I usually wear a mix of neutrals and a shade of purple or navy. This past month has really just ben neutrals. I've especially been loving pairing my Nars shadow in Nepal with any of the shades from the L.A. Colors 12 Color Palette in Traditional. If you remember, I got this palette for $1 (!!!), but it is really an awesome neutral palette. The Dior palette is great too, but it can bee a bit to shimmery for day so I've been using it at night with a liquid liner.

3. Hair Care:
Garnier Nutrient Spray and H2O Spa Hair Repair Seaweed Mask and Conditioner

I've been using the H2O Seaweed Mask and Conditioner as a hair conditioner. If I use it as a mask it is a bit too heavy for my thick hair. As you can see I'm almost done and I definitely will repurchase this one. It doesn't smell the best, kinda herbal-y, but my hair feels really healthy after I use it.

The Garnier Nutrient Spray is one of those products that has the dual layer (like Lancome's famous Bi-Facil makeup remover). You shake it up and then spray. I use this on damp towel dried hair before I blow dry. If I use it on dry hair I have to be careful not to spritz too much or my hair will be too oily. On dry hair one spray is enough to give me some shine. On damp hair I spray 3 times, rub it in, and then blow dry. My hair ends up looking very very healthy and shiny. You have to remember to shake it before using it otherwise the oil and water based ingredients won't work together.

4. Perfume
Marc Jacobs Splash in Gardenia

All this is is a body spray. It smells amazing. My favorite flower is the white gardenia. I love how they smell and look and everything lol! This spray is light and perfect for everyday use. I layer this over the Philosophy Grace lotion after I shower and then maybe another perfume like my Chance by Chanel. People always ask what I'm wearing when I wear this, especially when I layer it over Philosophy Grace. If you want an inexpensive dupe for this, Bodycology has a body spray in white gardenia. It's around $4 and it smells exactly the same only a little bit stronger. They actually have an entire line of lotions, sprays etc with the white gardenia scent. I've reviewed the lotion from the collection.


I've been using this for most of the month and I've barely made a dent in the MASSIVE bottle. You get an astounding 10 fl oz!!! I've only used a tiny bit over a cm, so this is going to last me forever.

That's it for February! I'll be posting a haul later today so stay tuned!

Tuesday, March 8, 2011

Happy International Women's Day!

Just wanted to wish all of my readers a very happy March 8th! I'm Russian so I do celebrate it even though I live in the US. Also, sorry for being MIA this past week and a half. Everything has just been soooo crazy at uni. I was gone for 5 days but I feel like I left for a month. Anyhow, new posts tomorrow, starting with Feb favorites and a Sephora haul!

Thursday, March 3, 2011

{Tip Thursday} Traveling With Skincare and Makeup

So traveling with makeup and skin care items can be tricky. There are many restrictions on what you can and can't bring in your carry on, I worry about things breaking, spilling, cracking, etc, and this is how I pack to prevent that from happening. Keep in mind that while this may work for me, you may want to take a few more precautions, especially if you are going to be bringing expensive items with you. I'll have some more tips at the very end of the post about cracking powders, etc, so make sure you read till the end.

1. Airport Rules
-According to the 2011 rules, you are only allowed to bring liquids or gels that are 3oz in size or less in your carry on. If you want to bring something larger than 3 oz you can, you just have to put it in your checked luggage.

-If you re bringing liquids or gels on the plane, they have to be in a clear bag 1 quart in size or smaller and each passenger can only bring one 1 qt bag with them.

It's pretty simple, really. Just make sure to check the sizes of your containers because you will be surprised that quite a few of liquid or gel skin care products are less than 3 oz to begin with so you may not even have to repackage them. I checked luggage so I didn't have to worry too much about this. I did repackage some items cause I didn't want to be lugging around a huge thing of skincare and makeup because if your checked luggage exceeds 50 lbs then you have to pay more than the regular $25 fee (at LaGuardia). IMPORTANT: always check the TSA or the airport website the night before to make sure that you aren't surprised by any changes in policy. It takes 2 mins and can save you a lot of time and hassle later.

2. Makeup: What To Bring
As a general rule, I like to bring the basics, all in one products (or multipurpose products) and nothing I would be devastated about if it is lost or breaks.

What I brought to St. Lousi
Revlon Eyelash Curler, Sephora Professional Eye Primer, Pixi Eye Bright Liner in Nude, Pangea Organics Ecocentric Pyrenees Lavender Lip Balm, Shiseido Lipstick in RS701 Serenity, Revlon Grow Luscious Mascara in Black, Lancome Artliner in Black, Chanel Lipstick in Darling (sample size), Josie Maran The Wildflowers Palette, CoverGirl Clean Foundation for oily skin, and Calvin Klein Bronzer in Summer Affaire. (Not pictured: NYC Smooth Skin Loose Powder).

Josie Maran The Wildflowers Palette, CoverGirl Clean Foundation, CK Summer Affaire Bronzer.

I chose items that I either can't go without like my current foundation or favorite bronzer, or products that are very multipurpose. This Josie Maran palette is very small so it's very convenient for travel but it also has everything I need for an everyday look as well as an edgier night look.

And you can see my cute Victorias Secret Pink pjs, lol!

Lips:
Pangea Orgnics Ecocentric Lip Balm in Pyrenees Lavender, Shiseido Lipstick in RS701 Serenity, and Chanel Darling Lipstick (deluxe sample).

For lips, I don't usually go dark so I just brought my everyday color, which is anything like Chanel Darling, and something a bit more nude for an evening out.

Swatches:
Pyrenees Lavender Lip Balm, Shiseido Lipstick in Serenity RS701, Chanel Darling Lipstick.

Eyes:
Lancome Artliner in Plum, Shiseido Liner in 07 Brown, Pixi Eye Bright Liner in Nude, Sephora Professional Eye Primer, and Revlon Grow Luscious Mascara in Black.

For eyes, I choose products I know work for me. I brought the one Josie Maran shadow palette and then just chose fool proof products that I knew would compliment the shades. When you're away traveling the last thing you want to worry about is how to apply your makeup so just go for what you know works for you. Just make sure you bring something like liquid liner so that if you need to go from day to night in two mins you can..

A white or nude liner is especially handy if you spend a lot of nights out or are just tired and jet lagged. A little on the waterline and in the inner corners makes a world of difference.

3. Repackage items in smaller more portable containers.

Face powder:
I love NYC's Smooth Skin Loose Powder in Translucent, but lets face it, the thing is HUGE. Not to mention the fact that the lid pull of, but doesn't screw off which has the potential for a huge mess.

My solution:
I bought a $4 travel sifter at Sephora and put about a teaspoon inside. I would advise with loose powders that you tape the holes in the sifter shut so that when you open it you aren't surprised to find all of the powder above the sifter.

Eye cream:
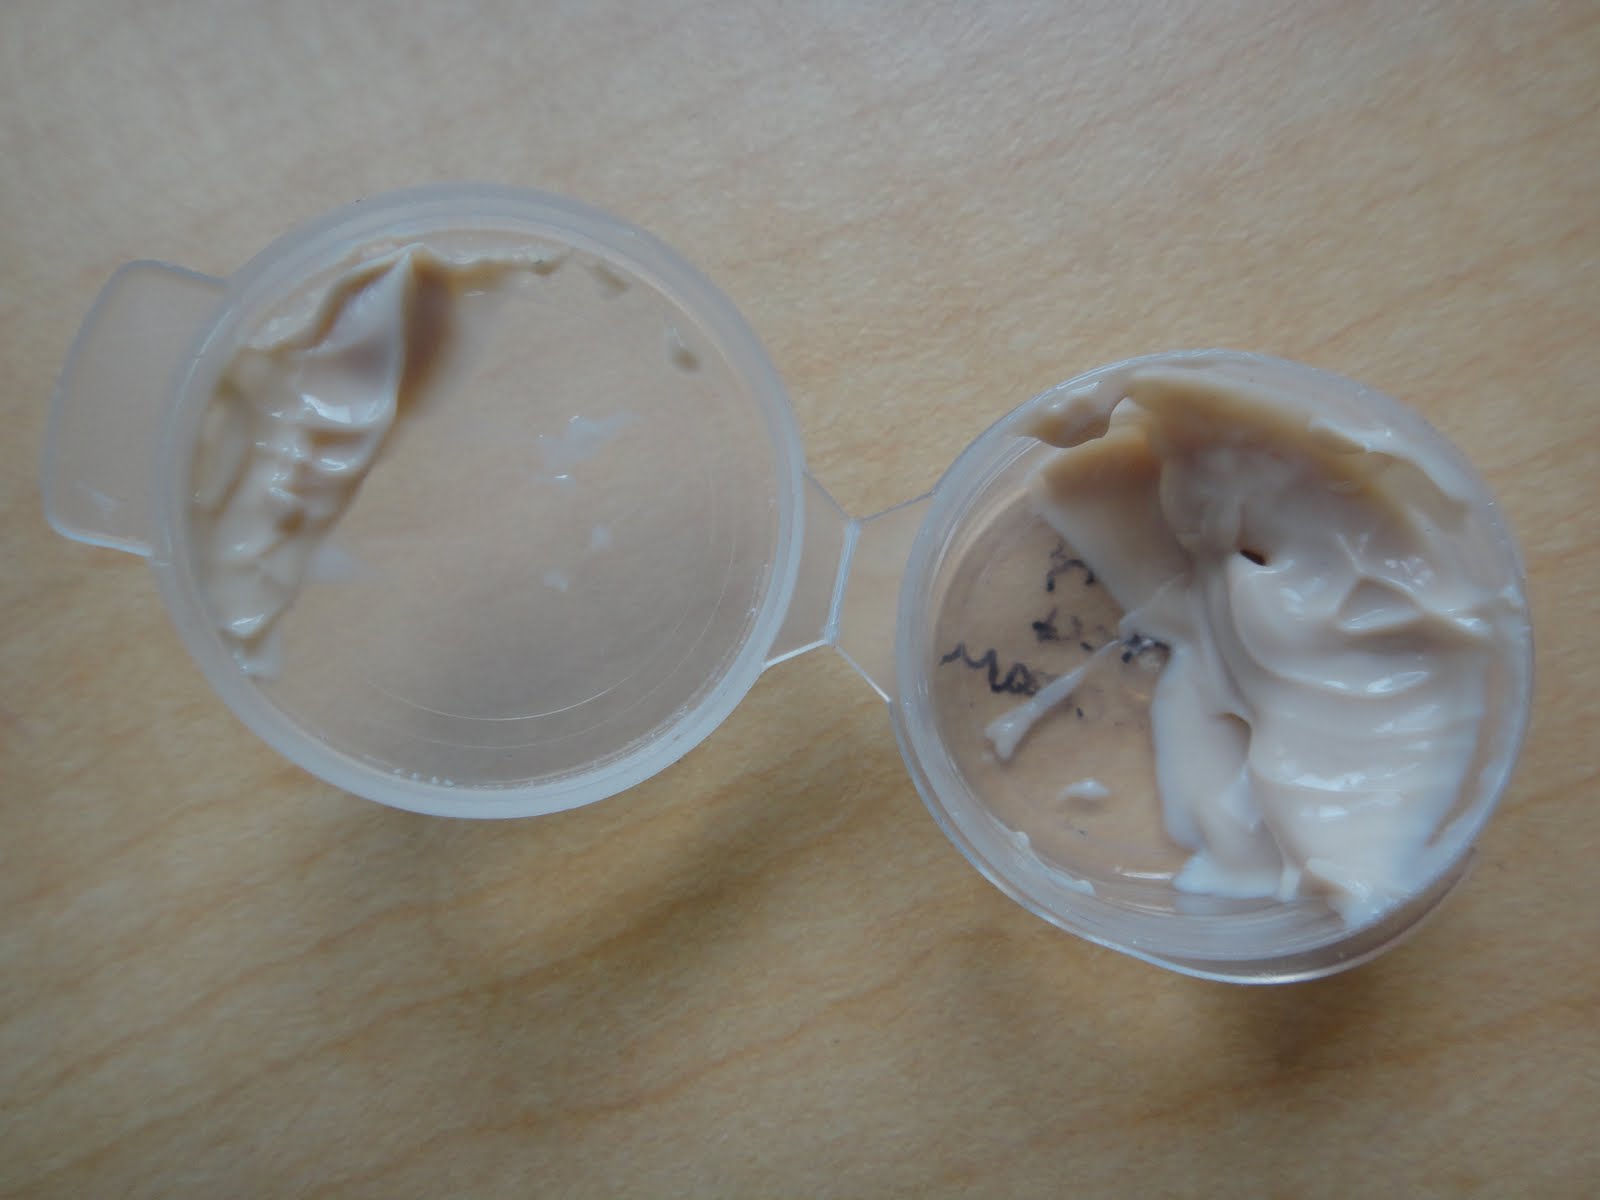
I love the little sample containers from Sephora. They're free and the perfect size for a few days supply of any cream.

Face moisturizers:

From this:
Large irregular containers. The serum is in a glass jar as well, so it is in danger of breaking.

To this:
Just make sure to label the bottom of the contact cases so you remember what is in what. And make sure the container is clean.

Face wash:
I put a weeks supply of my facial cleanser into a 1 oz jar from a used up moisturizer. This is how much was left after I came back, so I got the amount just right. I like the screw on jars better than the squeeze tubes because the squeeze tubes with the flip tops tend to come open.

Things you can't really repackage:
You need to shake the sunblock before using, so don't bother with that. The texture of the foundation is very thick so it doesn't pour easily so I didn't bother trying to get it out into a smaller container.

Eye makeup remover--you want the child proof cap so that it doesn't leak an oil into all of your stuff. You can bring makeup wipes but I don't think they work on eye makeup as well as an oil based makeup remover. As far as perfume goes, take a roller or a travel spritzer. It's still glass, but smaller than the full size bottle. Just make sure to wrap it very well. My favorite toner spray is the DDF Aloe Toning Spray, and I took it in the original packaging cause the spray is finer than the one on any travel spray container. I use it multiple times every single makeup application so it's worth it to me to bring the full size.

4. Hair Care
Save all of those little samples you get at the drugstore or in the mail. It's a lot easier than bringing your own full size products. And while hotel samples are getting better, not all of them are the best quality.

5. Invest in Ziplock Baggies
I just used the regular sandwich size cause I wasn't bringing any of this stuff in a carry on. Basically, anything you worry about spilling/breaking/leaking should go in a plastic baggie. Trust me, there is nothing worse than having a foundation bottle break in your suitcase. Nothing.

You can just put any cotton pads, q-tips or anything in a ziplock as well, no need to buy the travel packs if you already have everything you need.

6. Find a nice, mid-sized makeup case.
IMPORTANT: The way to make sure that nothing breaks or cracks is by packaging your items so that nothing shakes or jiggles. If there is a lot of room between the items they will hit each other causing powders to crack and glass items to break. This is how I keep my powder eyeshadows, bronzer, etc, from breaking. I don't bother putting cotton balls/pads inside the containers. I've never had a powder eyeshadow or anything like that break for me while traveling if I make sure to pack the stuff very tightly.

I fit ALL of what I showed you in this post in a medium sized makeup case from Estee Lauder that I got with a gift with purchase a long time ago. It is the perfect size, not too big and not too small. I also like that it has the handle above. It makes carrying it easier and I don't have to worry about dropping it. If you're going for less than 2 weeks then there is no reason why you should need to bring more than this much makeup.

I know this was a very long post but I hope I gave some useful tips! If you have any other tips or tricks for getting your stuff to and from your destination in one piece don't hesitate to let me know in comments!